Your First Month With a Home Espresso Machine
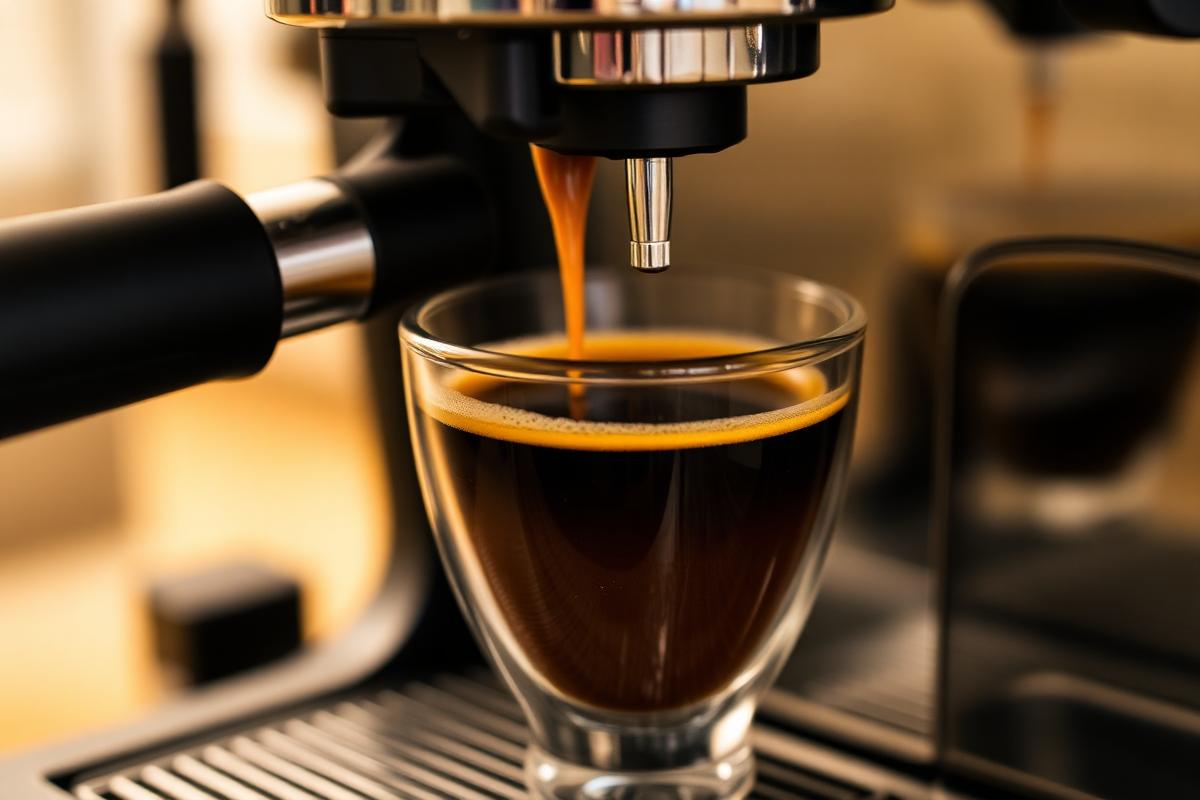
Espresso punishes inconsistency more than any other method. The good news is that almost every beginner problem traces back to three variables, and you can learn to move them one at a time.
Start from one recipe
18g in, 36g out, 25 to 30 seconds. Write it on a sticky note and put it on your machine. Every adjustment you make from here is measured against that baseline.
Weigh the shot in the cup. Volume lies — crema varies wildly between roasts and ages.
Dialing in without losing your mind
Change one thing at a time, and only grind size on day one. Shot running under 20 seconds and tasting sour? Grind finer. Over 35 seconds and tasting harsh and ashy? Grind coarser.
Expect to waste three or four shots per new bag of coffee. That's normal, and it's cheaper than a café habit.
Puck prep is the quiet variable
Distribute the grounds evenly before tamping — a WDT tool made from a cork and acupuncture needles costs almost nothing and eliminates channelling.
Tamp level rather than hard. Consistency of angle matters far more than pressure once you're above roughly 30 pounds.
What to ignore for now
Pressure profiling, naked portafilter forensics, bottomless flow analysis and water chemistry. All useful eventually, all noise while you're still learning to hit a repeatable 36g.
Buy a decent burr grinder before upgrading the machine. It is, without exaggeration, the highest-leverage purchase in espresso.
Frequently asked questions
Daniel Ferro
Gear Editor
Has taken apart more grinders than he'd like to admit. Reviews equipment with a stopwatch, a scale and zero brand loyalty.
Join the discussion
Brewed this at home? Tell us how it went.
Related articles
How to Make French Press Coffee That Isn't Muddy
A coarse grind, a four-minute steep and one small skimming trick are all that stand between you and a clean, sweet full-immersion brew.
Cold Brew Concentrate You Can Keep in the Fridge All Week
One jar, sixteen hours, and a week of iced coffee ready to dilute however you like it.
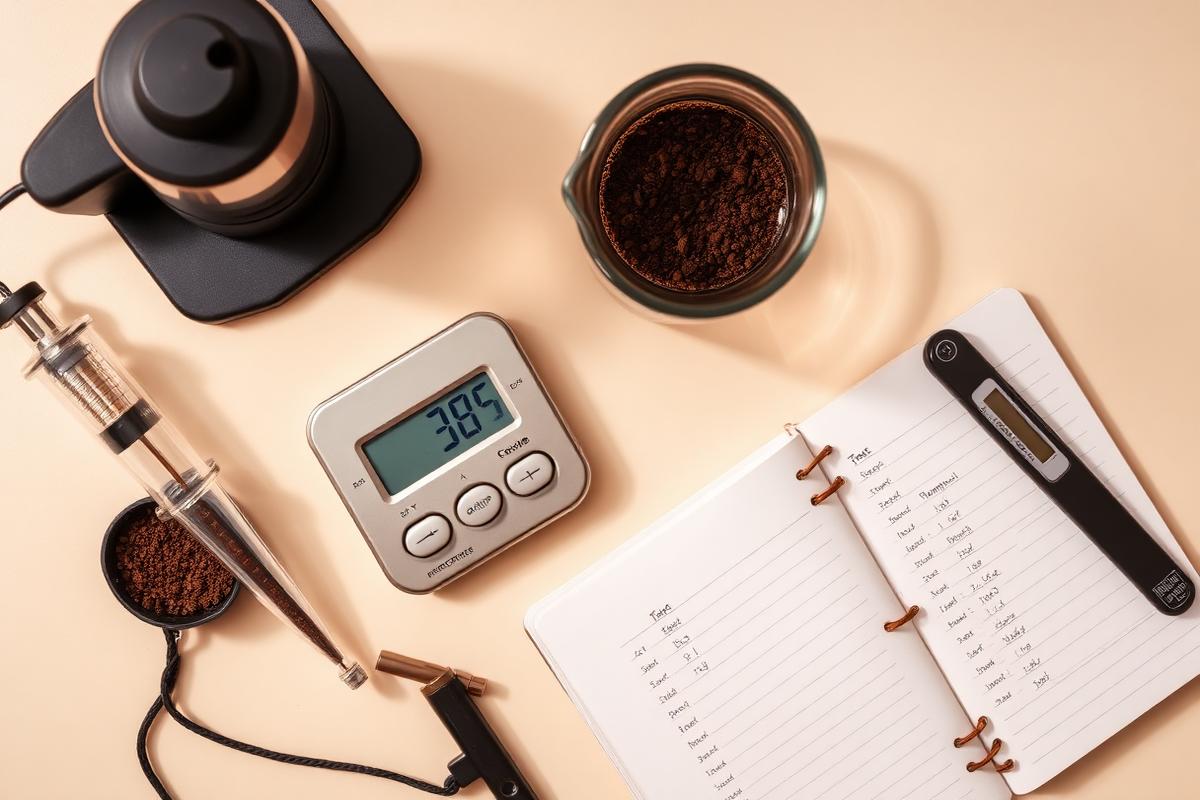
Grind Size Explained: A Practical Chart for Every Brewer
Grind size is the single biggest lever you have over taste. Here's what each setting should look and feel like.